Guys, before you read this, check out an easier way to make cold brew coffee concentrate using a French press.
Cold brew coffee! Is it coffee that you brew in hot water and put in ice?
This was what I thought when I first heard about cold brew coffee. Boy was I wrong!
Basically, cold brew coffee is the process of steeping your coffee grounds in normal temperature water for a long period of time and coming up with a coffee concentrate.
The most prominent benefit of cold brewed coffee is that it contains 67% less acidity. I can attest to this as my fingers tend to hurt after I drink an acidic cup of coffee. It didn’t hurt when I drank cold brewed coffee. I’m pretty sure that’s because of its less acidic nature.
The Toddy Cold Brew System could whip you up a huge batch of cold brew coffee concentrate, but I started making cold brew before I even got a Toddy. This is the process I’d like to share so you could make cold brew coffee with your regular household items. Let’s get started!
Preparation:
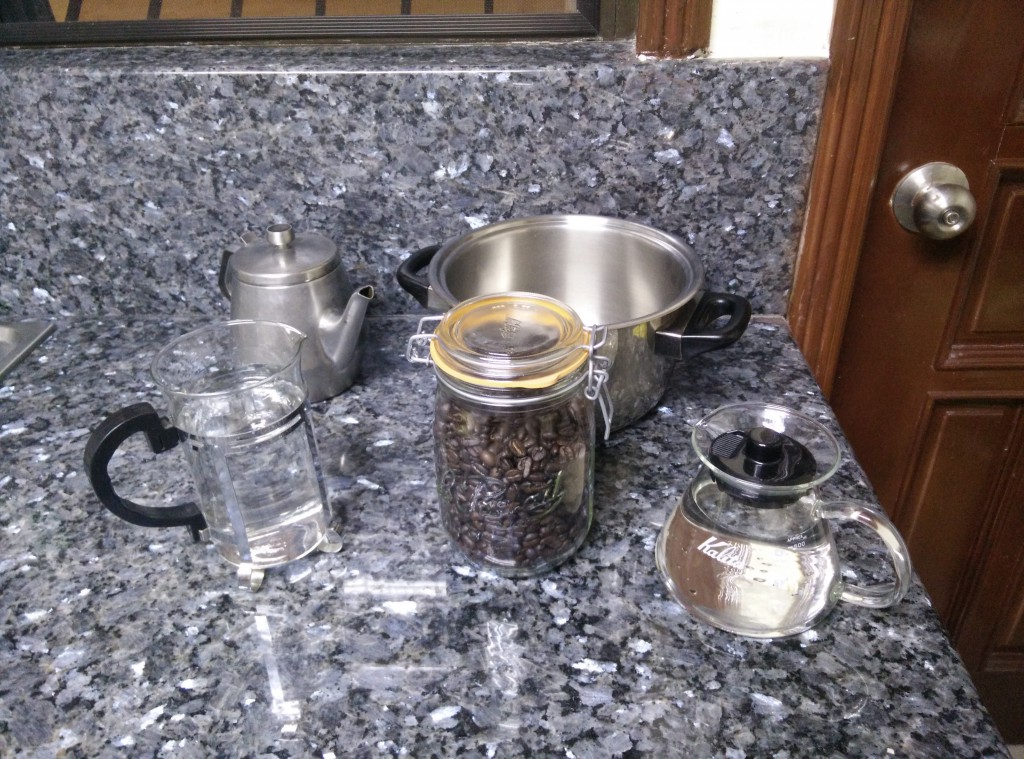
We’re making a 1.5 liter (51 ounce) batch of cold brew coffee concentrate, so here’s what you need:
- Filtered water
- Coarsely ground coffee (French Press coarse)
- Container to fit the brew in (plastic, glass, or stainless steel)
- A big strainer
- A second container to receive the coffee concentrate from the strainer
- Big paper filter for the second staining
- An airtight container to put the ground-free coffee concentrate in
Coffee to Water Ratio
This is very important. The ratio that you’re looking for is 1 part coffee is to 6 parts water (1:6).
To make it simple, buy a 250 gram bag of freshly roasted coffee beans, and use 1.5 liters (51 ounces) of filtered water.
Steps in Making Your Cold Brew
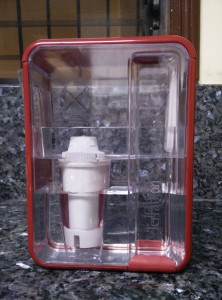
Step 1: Filter the water
You want to make sure you have filtered your water before you start. Remember that once you grind your coffee, you only have about a 15 minute window before the coffee grounds start to oxidize and get stale.
Step 2: Grind the beans
Use a coarse grind for your beans. You could look at my grind size guide here. But basically, grinding at the coarsest setting of your burr grinder is all that you need to do.
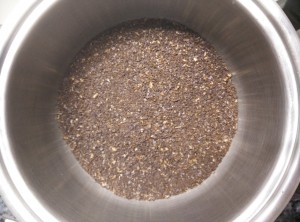
Step 3: Put the beans and water in a container
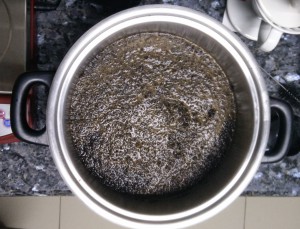
Let’s talk about the container first. Remember to use only glass, plastic, or stainless steel. I heard when using an aluminium container, the coffee acids will tend to chip off the aluminium, which is really bad for your coffee concentrate; more importantly, it will be really bad for you. So do take care of the container. I used a stainless steel container for my brewing.
The mixing is easy. Just dump the beans first and then pour the water slowly in afterwards. Make sure you use a spoon after you get to the optimal water volume and slowly push the coffee grounds into the water, thereby soaking all the beans and getting that even extraction.
Step 4: Place a cloth cover on top of the brew
Step 5: Leave your mixture to brew anywhere from 12 to 24 Hours
12 is the bare minimum. However, I recommend at least 20 hours of brew time to have a stronger and better concentrate..
Step 6: After steeping for 12-24 hours, use a strainer and pour the coffee over to the next container
I would recommend something that looks like this:
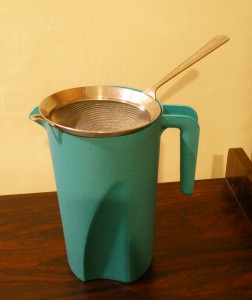
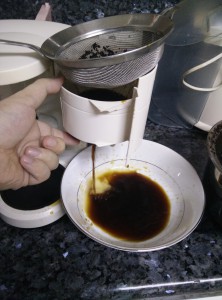
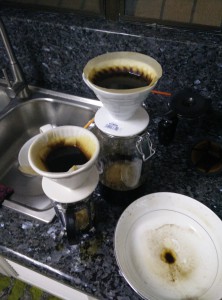
But I thought about that after I finished making my brew and instead came up with a weird straining method using an electric coffee brewer. It was a messy step for me and it looked like this:
Step 7: Put your paper filter on the strainer and pour the coffee concentrate into an air tight container
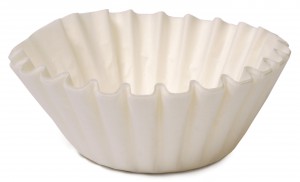
Basket Filter
You could grab some big basket filters, put them on the strainer, and pour the coffee concentrate through the filter into the air tight container.
I didn’t have those types of filters when I did my cold brew, so I used whatever drippers and filters I had to strain the fines out of the coffee.
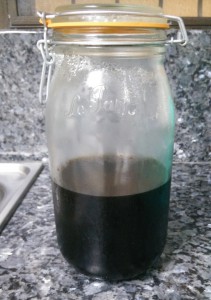
And there it is! Your cold brew coffee concentrate ready for action! Once you’ve poured the concentrate into the air tight container, you could make yourself a cup of coffee already, and put the remaining concentrate into the refrigerator. This concentrate could last two weeks in your refrigerator.
How To Make a Cup of Coffee
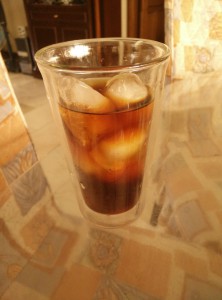 There are lots of recipes you could do with cold brewed coffee. The most important thing to remember is: In making your coffee cups, start with 1/4 cup or mug of coffee concentrate. Here are some simple recipes I’ve made.
1/4 coffee concentrate + 3/4 hot water for a morning brew
1/4 coffee concentrate + 2/4 water + 1/4 ice for ice blended coffee
1/4 coffee concentrate + 2.5/4 cold milk + 0.5/4 ice for a cold latte
If your coffee seems a bit too weak, you could bump up your coffee ratio to 1/3.
There you go and hope you enjoy your cold brew coffee! Do you have any other ways to make cold brew coffee? Or do you have other recipes for it? Write them down on the comment below and I’ll make sure to add it and give you the credits!
Thanks for reading!

I love coffee and your site!! Very nice laid out and informative!! Be Blessed and happy brewing!
Thank you Bobbi 🙂 Same blessings to you too and thanks for commenting 🙂
Aaah..Coffee! I need more caffeine 🙂
Great instructions on how to make cold brew coffee my friend. I will definitley try it at home and see how it will taste like. I personally never tried cold brewed coffee, but thanks to your post. I can drink a glass of cold coffee instead of hot one.
Cheers,
Edy
Thanks for posting Edy! Yup cold brew is awesome! I’m interchanging between batches of cold and hot brew coffee now. Thanks for reading and hope you get to try it out. I’m going to post an eaiser method I discovered in a while 🙂
great detailed how to – i hope to try that myself soon
Please do! It’s really nice! I’ve discovered making it in a French press is even easier! I’ll leave a detailed post on that one soon
Hi if the ratio is 1:6 i would need 160g of coffee for 1 liter right??
Hi. Yes that’s correct. Make it 170g of coffee if possible. Also make sure you’re adding in 1 liter of water. Thank you for following the guide and tell me how it comes out